You finally picked out your new fixtures or mapped out that bathroom or kitchen upgrade, and now you are wondering what really happens when the plumber shows up to start the installation. Will the water be off all day, will walls need to come down, and is there anything you should do before the service team arrives?
Preparing for plumbing installations is not something most people do often, so it is normal to feel unsure. You are trying to coordinate work around family schedules, pets, maybe people working from home, or even customers if you run a small business. The more you understand about how installations actually work, the easier it is to plan your project, protect your space, and avoid surprises with time or cost.
At Mom & Pop Plumbing, we have been handling plumbing installations since 2017. Our owner, Air Force veteran and P-2 journeyman plumber Pete Czmyr, brings more than 20 years of experience across service work, new construction, and remodeling. In this guide, we will walk through how plumbing installations really work in homes and businesses, what you can do to prepare, and how our options-based, flat-rate approach keeps the process clear from start to finish.
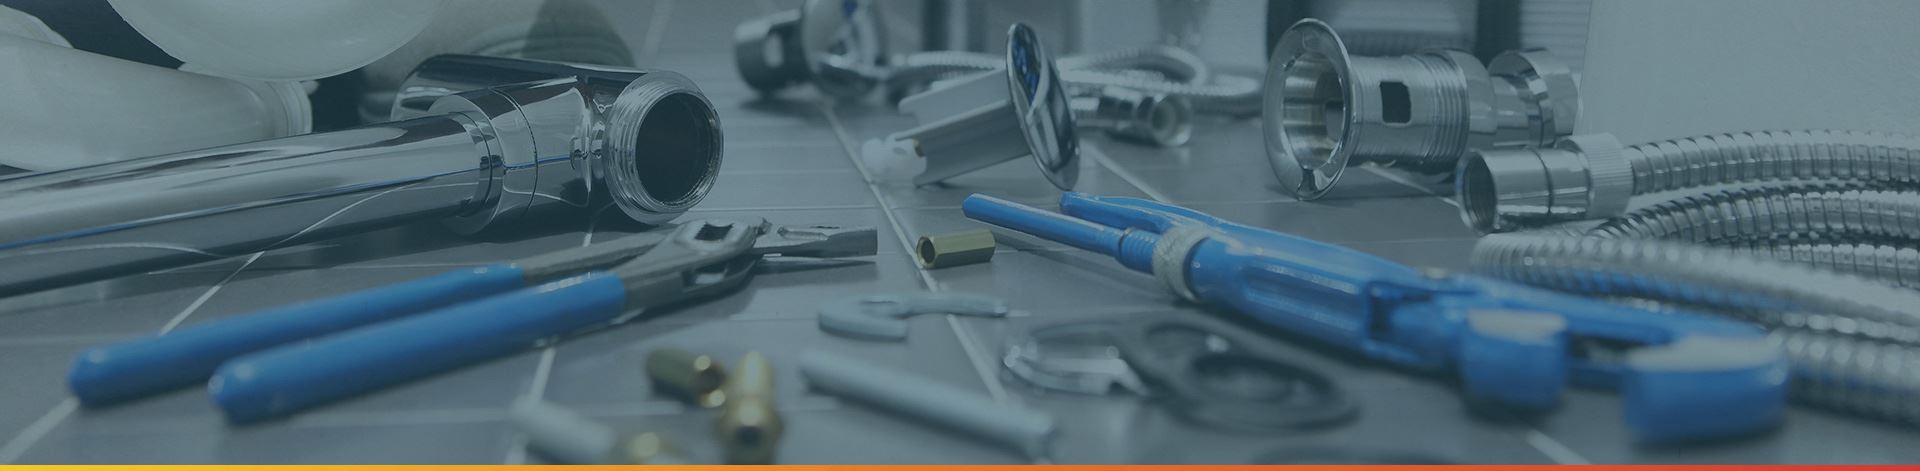
What “Plumbing Installations” Really Mean
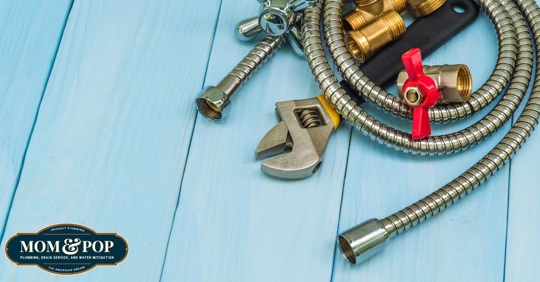
Plumbing installations cover a wide range of projects, from straightforward fixture swaps to full layouts for new bathrooms or kitchens. On the simple side, you might be replacing a tap, toilet, garbage disposal, or pedestal sink in the same spot. These jobs usually involve disconnecting and removing the old fixture, checking shutoff valves and supply lines, installing the new fixture, and testing for leaks.
More involved installations come up when you move fixtures or add new ones. Examples include relocating a kitchen sink to an island, adding a laundry hookup in the basement, or building out a brand-new bathroom in a previously unfinished space. These projects typically require running new hot and cold supply lines, installing new drain and vent lines, and sometimes opening walls, floors, or ceilings to reach the existing system safely and in a way that aligns with code requirements.
Homes and businesses often have a mix of older and newer plumbing. It is common to see copper, PEX, and sometimes older galvanized or cast iron piping in the same building. That mix can affect how straightforward an installation will be. For instance, tying into a clean PEX manifold in an open basement is very different from working with corroded galvanized lines tucked behind finished plaster walls. Our team evaluates these details during the planning stage so we can accurately determine whether your project is a simple fixture change or a fuller rework of the plumbing in that area.
Planning Your Project: Decisions To Make Before We Quote
The best installation experiences start with clear decisions and information up front. Before we quote your plumbing installation, it helps if you have a sense of which fixtures you want, where they will go, and whether anything is moving from its current location. Keeping a vanity, toilet, or sink in the same place usually keeps costs down, while moving them to a new wall or across the room can require new supply, drain, and vent runs.
Fixture selection is another key piece. Some vanities need the drain to be at a certain height or side-to-side location to avoid cutting into drawers, and some modern taps or shower valves need specific rough-in depths to sit correctly against tile. Certain water heaters or advanced fixtures may require more electrical capacity, venting, or gas line sizing than an older unit. When you share models or product specs with us up front, we can confirm whether they will work with your current setup or if adjustments will be needed.
Photos and basic measurements go a long way toward an accurate quote. Clear pictures of the existing fixture, under-sink piping, nearby shutoff valves, and any accessible basement or crawlspace areas beneath the work help us see what we are walking into. Combine that with simple notes, such as “this home was built in the 1960s and the basement piping is mostly copper,” and we can plan more precisely and reduce surprises on installation day.
Once we understand your goals and see the conditions, we present options instead of a single take-it-or-leave-it number. Our options-based approach might include a basic installation that keeps as much as possible as-is, a mid-range option that replaces aging shutoffs and some older piping at the same time, and a more comprehensive option that modernizes everything in that area. With our transparent flat-rate pricing, you see the price for each option before work starts, so you can pick what fits your budget and long-term plans.
How We Schedule Plumbing Installations
Once you approve an option, the next big question is scheduling. Simple installations like swapping a tap, replacing a standard toilet, or installing a typical water heater are often completed in a single visit that lasts a few hours. More complex work, such as roughing in a new bathroom or coordinating with a larger remodel, usually takes place over several visits that can be spread across days or weeks, depending on other trades and inspection timing.
We schedule plumbing installations during our regular hours, 8am to 5pm Monday through Friday, with some Saturday mornings by appointment. Our schedule allows our technicians to arrive rested and focused, which usually translates into better communication, fewer rushed shortcuts, and a more consistent experience throughout the project.
Several factors can affect how long your installation takes. Hidden conditions inside walls or floors, such as corroded galvanized pipe, improvised past repairs, or unvented drains, may only become visible once we open things up. If permits and inspections are involved, we might complete the rough-in, then pause while an inspector checks the work, then return later for finish and trim. Access issues, like a blocked main shutoff in a packed basement or tight crawlspaces, can also add time. Our job is to explain these possibilities at the planning stage so you have realistic expectations instead of a vague “we will see when we get there.”
Because we run a fleet of service vehicles and have the equipment to handle both small and large jobs, we can usually schedule installations in a way that limits downtime for you. We might, for example, rough in a bathroom one day, then come back for finish connections after tile and paint are done, instead of leaving you without a working bathroom for an extended stretch.
Getting Your Home Ready Before Installation Day
A bit of preparation on your side can make a noticeable difference in how smoothly and quickly your plumbing installation goes. One of the most helpful steps is clearing access paths. Think about the route from the driveway or street into the work area, and then the areas around the fixture, utility room, basement, or crawlspace we will need to reach. Moving furniture, stored boxes, and small items out of the way ahead of time lets us bring tools and materials in without delays or risk to your belongings.
Protecting your home is a shared effort. Our team brings materials to protect floors and work surfaces, and we treat every property with care. You can help by moving anything fragile, such as picture frames on nearby walls, items on shelves, or electronics near wet areas, to a safer location. In kitchens and bathrooms, clearing countertops, removing items from under sinks, and pulling rugs and mats out of the workspace saves time and reduces the chance of dust or splashes reaching things you care about.
Logistics matter more than many people realize. If you have tight parking, think about where a service van can park so we do not block neighbors while still being close enough to unload tools safely. If you have pets, plan to keep them in a room away from the work or arrange for them to be out of the house, since open doors, loud noises, and strangers carrying equipment can be stressful for them and risky for us. For most installations, an adult needs to be on-site to approve any changes and walk through the finished work with us, so make sure someone with authority over the project is available.
A Simple Pre-Visit Checklist You Can Follow
Homeowners often ask for a simple checklist, so here is a practical one you can use. First, clear at least a three-foot path from the entrance we will use to the work area, and clear the floor around any fixtures we will be working on. Second, empty the cabinet under sinks we will touch, and remove items from the top of toilets, vanities, and nearby shelves so nothing gets knocked over. Third, locate your main water shutoff and any individual shutoff valves you know about, especially for the bathroom or kitchen being worked on. If you are not sure where they are, do not stress, we can help locate them, but it is helpful if you have a general idea. Fourth, confirm that all new fixtures and parts you are providing are on-site, in their boxes, and match what we discussed. Finally, make a short list of any last questions you want to ask the technician, such as how long water will be off or whether this is a good time to upgrade old valves. That list makes it easier to cover everything during the initial walk-through.
What To Expect During Your Plumbing Installation
On installation day, our technicians will start with a quick walk-through. We confirm the plan with you, look at the work area and access points, and go over any questions from your checklist. We also identify where to set up tools and materials and where to place floor protection. This first 10 to 20 minutes sets the tone for the whole visit, and you will know exactly what we are doing and in what order.
Next comes shutting off and draining the sections of plumbing we will be working on. For a simple fixture swap, that might mean closing a couple of local shutoff valves under a sink or behind a toilet. For larger jobs, we may need to turn off the main water to the building for part of the visit, then turn it back on between stages. The length of time water is off depends on the job, but many homeowners plan ahead by filling a few pitchers or bottles, making sure there is one bathroom unaffected if possible, and timing showers or laundry around the visit.
The actual installation sequence varies by project but typically follows a pattern. We remove old fixtures or piping, prepare surfaces, run or adjust supply and drain lines as needed, install the new fixtures or equipment, and then test everything under normal pressure and use. During this time, you can expect some noise from cutting, drilling, or opening access in walls or floors if the project calls for it. We contain debris as much as we can and keep the workspace as tidy as the job allows.
Throughout the visit, we keep you informed. One of the things that sets Mom & Pop Plumbing apart is our educational approach. We invite you to look in on the progress, explain what we are doing in plain language, and point out anything unexpected we find. If we uncover an issue, such as a weak section of old piping or a hidden leak, we pause, show you what we see, and walk through your options before moving forward. At the end of the visit, we review the completed work with you, answer any remaining questions, and make sure you are comfortable with how everything operates.
How Plumbing Installations Fit With Other Trades & Inspections
If your plumbing installation is part of a bigger remodel or build, coordinating the order of work is critical. In a typical bathroom or kitchen project, plumbing rough-in happens after framing and before insulation and drywall. We run or adjust hot and cold lines, lay out drains and vents, and set any in-wall components like shower valves or tub drains. Once that is complete, the work is usually inspected, then walls are closed and surfaces like tile, cabinetry, and countertops are installed. Finally, we return for the trim or finish stage, where we install visible fixtures and make final connections.
Doing things out of order can cause headaches. For example, if cabinets are installed before plumbing rough-in, we may need to cut into brand-new boxes or pull them out again to reach the lines, which wastes time and money. If tile goes in before the drain heights and valve depths are set properly, fixtures may not line up or sit flush, leading to extra cutting or even re-tiling. By talking through your schedule with any builders, electricians, or tilers involved, we can help you choose dates that avoid rework and keep everyone moving forward.
Some installation projects, especially those involving new bathrooms, moving major fixtures, or installing certain types of water heaters or equipment, may require permits and inspections. Requirements vary by municipality, so we do not promise specific turnaround times or rules in a general guide like this. What we can do is flag when a project is likely to need an inspection, plan our rough-in and finish visits around that, and make sure the work we perform aligns with code expectations.
This is where licensing and experience matter. As a P-2 journeyman plumber, our owner Pete understands what inspectors typically look for, such as proper drain slope, correct venting, and approved materials. That background from years in new construction and remodeling work helps us plan installations that stand up well during inspections, which reduces the chance of failed checks and repeat visits that can slow your project down.
Managing Costs & Avoiding Surprise Add-Ons
Cost is often the biggest source of stress around plumbing installations. Many homeowners worry that once a wall is opened or a fixture is removed, the price will suddenly climb. The way we address that is through clear flat-rate pricing and options laid out before work starts, combined with honest communication if we discover something unexpected while we are working.
With flat-rate pricing, you see the cost for the agreed scope up front instead of waiting to see how many hours the job takes. For example, if we are installing a new kitchen sink and tap in the existing location with standard connections, we will quote that as a single installation price. If you prefer, we can present different levels of work, such as a basic install that reuses functioning shutoffs, a mid-level option that replaces older valves and traps, and a more complete refresh that also upgrades nearby piping. You pick the level that fits your budget and goals, and the price for that level is clear from the start.
Where surprises come in is usually not in the work you can see, but in what is hidden. A classic example is a vanity replacement where the old shutoff valves crumble when turned, or a shower remodel where we find an unvented drain or corroded galvanized line once the wall is open. In those cases, we stop, show you the issue, and talk through the options. You might choose a focused repair that addresses just the failing piece, or you might decide that since the wall is already open, it makes sense to replace a longer run of old piping now and reduce the chance of future leaks.
There are also simple steps you can take to minimize budget surprises. Having all fixtures and parts on-site and matching what we planned for helps avoid last-minute changes that can alter labor or materials. Choosing standard fixtures instead of heavily customized or special-order items often reduces both material cost and installation complexity. When you know certain areas of your plumbing are very old or have caused problems before, budgeting for a bit of preventive work in those spots during the installation is often more cost-effective than calling for emergency repairs later.
After The Installation: Testing, Warranty, and Next Steps
Our work does not end when the last fixture is tightened. Before we pack up, we thoroughly test new installations to make sure everything is performing as it should. That might include running taps and showers at full flow, flushing toilets several times, filling and draining basins while checking below for leaks, and cycling a new water heater to confirm hot water delivery. We would rather catch any small adjustment while we are still on-site than have you discover it later.
We also walk through the finished work with you. For new equipment, we show you how to operate controls, adjust temperatures where appropriate, and shut the unit down if necessary. We point out key shutoff valves and access points so you are not hunting for them during a stressful moment. If there are maintenance steps that will extend the life of your new installation, such as periodically checking a condensate pump or flushing certain types of heaters, we explain those in clear, simple terms.
After we leave, a few quick checks on your side can add peace of mind. Over the next day or two, take a moment to look under newly installed sinks, around the base of toilets, or near a new water heater for any signs of moisture. If you notice anything that does not look right, we want to hear about it. Our services are backed by a warranty, and our strong reputation with 5-star reviews across platforms reflects how seriously we take standing behind our work and building long-term relationships, not one-and-done jobs.
Ready For Plumbing Installations? Plan Ahead With A Team You Can Trust
Plumbing installations do not have to be a guessing game. When you understand the stages of the work, know what decisions to make up front, and take some simple steps to prepare your home or business, the whole process becomes more predictable and far less stressful. You get to enjoy that new bathroom, kitchen, or laundry setup with confidence that the plumbing behind it was planned and installed the right way.
If you want clear options, flat-rate pricing, and a team that takes the time to educate you along the way, we would be glad to talk. Use this guide as your preparation checklist, then reach out to Mom & Pop Plumbing to schedule a visit so we can look at your space, discuss your goals, and build a plan that fits your budget and timeline.